B2BKing is one of the most complete B2B plugins for WooCommerce — groups, rules, companies, credit, quotes. That completeness is exactly why switching feels risky: there’s a lot of data, and nobody wants to rebuild a season’s worth of pricing and accounts by hand.
Good news: you don’t have to. B2B Suite has an importer built specifically to bring a B2BKing store across — groups, buyers, every kind of price rule, quantity rules, tax exemptions, catalogue visibility, companies, credit balances and offers — and it does it as a dry run first, never writing to B2BKing’s own data, and safe to run twice.
This guide walks the whole move, step by step, using the importer in the free B2B Suite plugin. You can migrate and check your pricing before spending anything.
TL;DR
- The importer is in the free plugin: B2B Suite → Settings → Import. Pick B2BKing as the source.
- It reads B2BKing straight from WordPress storage — its group/rule/offer post types, user meta and post meta — so B2BKing doesn’t need to be active and nothing is ever written back to it.
- Groups, buyers, approval, all three rule types (percentage / fixed amount / fixed price), per-group product prices and quantity tiers, min/max/multiple quantity rules, tax exemptions, catalogue visibility, payment gating, companies & sub-accounts, credit limits & balances, and active offers all come across automatically.
- Per-user product prices, shipping-method gating, max-spend caps, custom registration fields and RFQ chat history need a manual step — each is called out by name in the report.
- Every import is a dry run first; nothing is written until you confirm. Running it again updates instead of duplicating.
- The free plugin includes one customer group. B2BKing stores usually have several, so run the import with Pro active to bring every group across — and Pro-domain data (companies, credit, quotes, tax) imports now and switches on when you upgrade.
What the importer actually does
B2BKing keeps its groups and rules as custom post types, a user’s group on user meta, and its per-product prices on product meta. The importer reads all of it directly from those WordPress tables — which is what makes the move safe:
It reads, it doesn’t rewrite. The importer only writes into B2B Suite’s own groups, rules and tables. B2BKing’s data is never touched.
B2BKing doesn’t need to be active. Because everything lives in WordPress storage, the import works whether the B2BKing plugin is switched on or off.
Every run is a preview by default. You see the groups, customers, rules, companies, credit accounts and quotes it would create, plus a warning for every record it can’t map cleanly. Nothing is written until you confirm.
Running it twice is safe. The importer records a map of “this B2BKing record became this B2B Suite record,” so a second run updates those records instead of duplicating them — import early, keep selling on B2BKing, re-import at switchover.
What comes across automatically
B2BKing is the incumbent B2B Suite maps most completely. In one pass:
- Customer groups → customer groups. Each B2BKing group becomes a B2B Suite customer group.
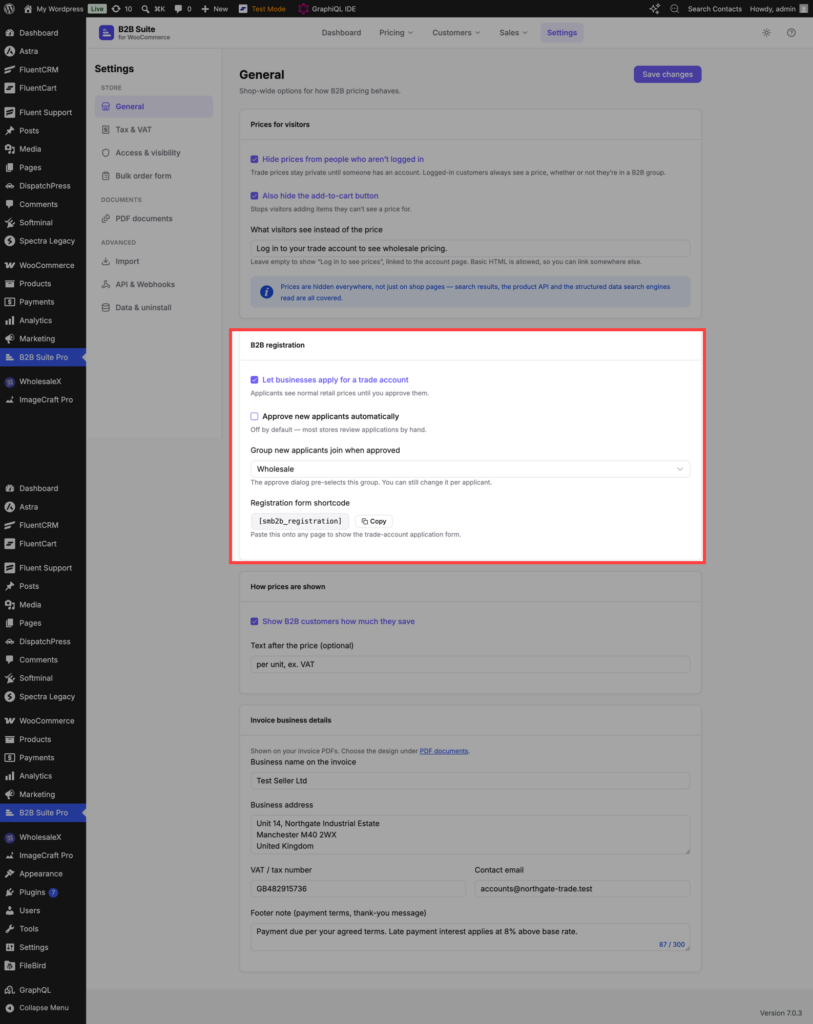
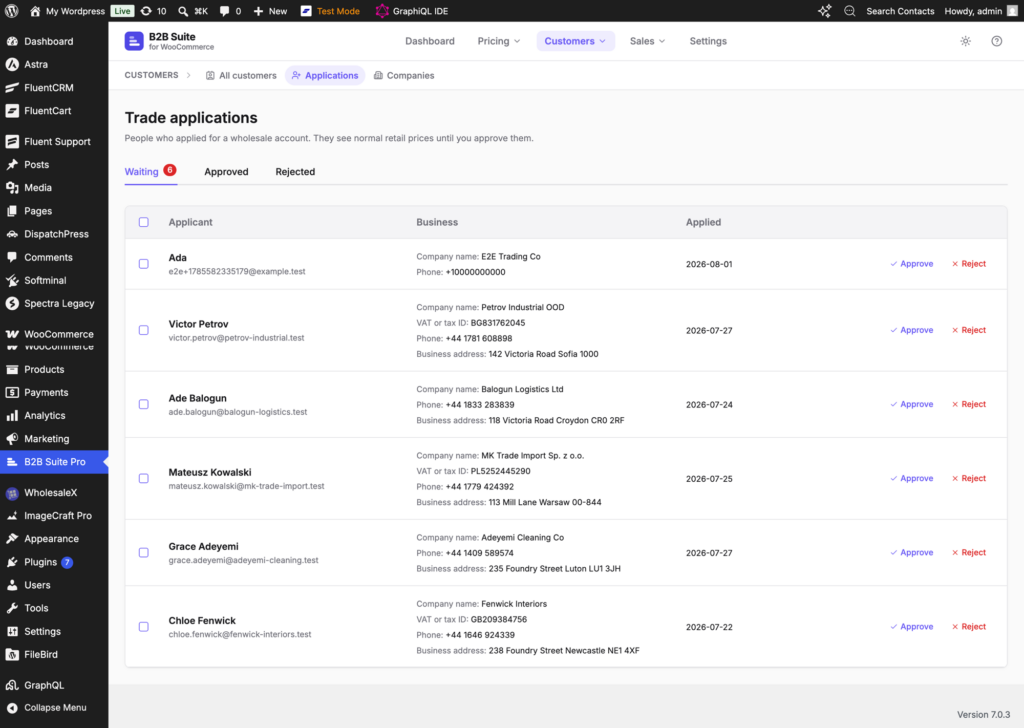
- Buyers, their group and approval state. Every user is placed into the right group, approved or pending as they were.
- Price rules — all three types. Percentage off, fixed amount off and fixed price, across B2BKing’s who (group / everyone) and what (all products / product / category) dimensions.
- Per-group product prices & quantity tiers. The prices B2BKing stores on the product itself — including tiered “buy more, pay less” breaks — come across as product rules.
- Quantity rules. Minimum, maximum and multiple (pack-size) rules, including product-level min/max/step.
- Group tax exemption → tax-exempt groups.
- Catalogue visibility. Hide-prices-from-guests, a fully private “B2B mode” catalogue, and per-group hidden categories.
- Payment method gating → method gating. Which payment methods a group is allowed.
- Companies & sub-accounts. A parent account becomes the company admin; its sub-accounts become company buyers.
- Company credit. Credit limits and consumed balances become a credit account with an opening ledger entry.
- Active offers → quotes. A live B2BKing offer to a customer imports as a quote they can still accept.
What needs a manual step (and why)
A short list can’t be mapped automatically — usually because the two plugins model something differently and a blind copy would be wrong. The importer flags each one in the dry-run report:
- Per-user product prices. B2BKing can price a single product for a single user; B2B Suite’s customer pricing is store-wide (a customer sees their price on everything). Rather than guess, single-user product prices are flagged.
- Shipping-method gating. B2B Suite gates shipping too, but WooCommerce shipping method ids differ between installs, so the importer asks you to set the shipping allow-lists by hand rather than map ids it can’t be sure of.
- Maximum order value caps. B2B Suite caps order quantity, not spend, so a max-spend limit is flagged.
- Standalone credit users. A user with a credit limit but no company has nowhere to attach in B2B Suite’s per-company credit model — flagged so you can create the company first.
- Custom registration fields. Recreate any extra fields you added to the B2BKing sign-up form.
- RFQ conversation history. The active offer imports as a quote; the back-and-forth chat behind it doesn’t (low value once the offer itself is across).
Everything here is surfaced as a named warning with a note on how to finish it — that list is your manual to-do list.
Where each B2BKing thing lands
If you think in B2BKing terms, here’s the quick translation. Items marked Pro are Pro features — but the importer still writes them on the free plugin now, and they switch on when you upgrade.
| In B2BKing | In B2B Suite | How |
|---|---|---|
| Customer groups | Customer groups | Automatic |
| Rules (%, fixed amount, fixed price) | Price rules | Automatic |
| Per-group product prices & tiers | Price rules | Automatic |
| Min / max / multiple quantity rules | Quantity rules | Automatic |
| Group tax exemption | Tax-exempt groups | Automatic · Pro |
| Hidden prices / B2B-mode / hidden categories | Catalogue visibility | Automatic · Pro |
| Payment method restrictions | Method gating | Automatic · Pro |
| Companies & sub-accounts | Company accounts & users | Automatic · Pro |
| Credit limits & balances | Net terms & credit | Automatic · Pro |
| Offers | Quotes | Automatic · Pro |
| Per-user product prices | Customer pricing | Manual |
| Shipping-method restrictions | Method gating (shipping) | Manual |
One heads-up: full B2B mode
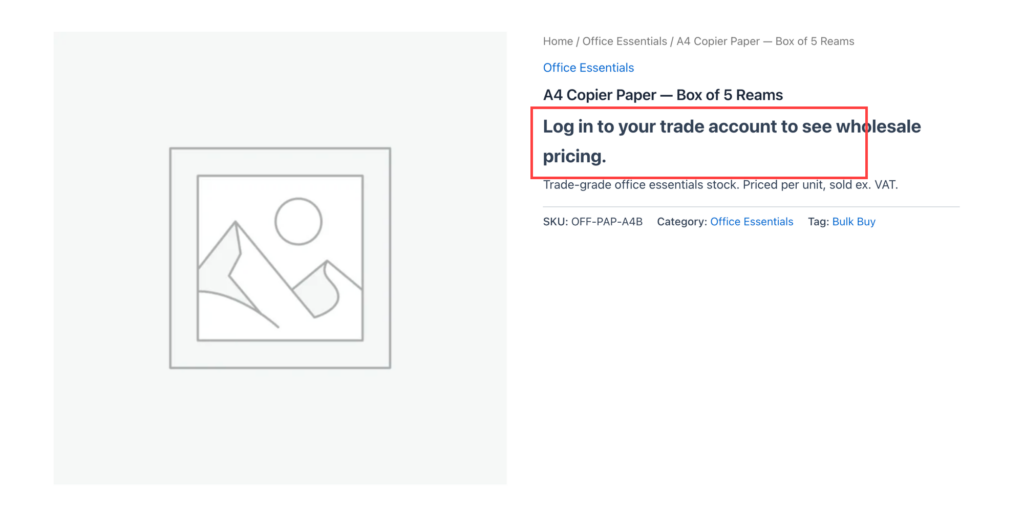
If your B2BKing store runs in full B2B mode — the whole catalogue hidden from anyone who isn’t a logged-in, approved trade customer — the importer will faithfully carry that across and make your B2B Suite catalogue private too.
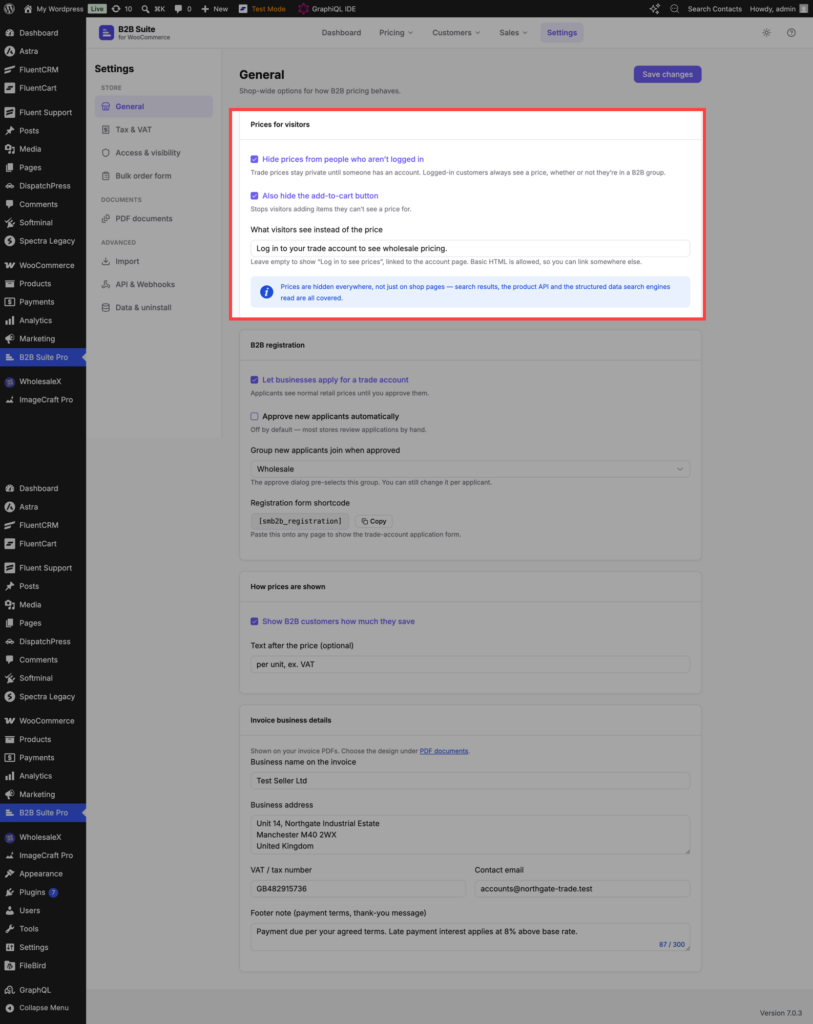
That’s correct, but it’s dramatic, so the dry run calls it out as a heads-up notice (separate from the “couldn’t migrate” warnings) before you commit. If you’d rather open the catalogue up after switching, you can change it under Settings → Access & visibility once the import is done.
Migrate step by step
Seven steps, and steps 4–6 are the whole of it.
Step 1: Install B2B Suite (free)
Add B2B Suite for WooCommerce from WordPress.org alongside your existing setup. It won’t fight B2BKing yet — you’re only reading data.
Step 2: Activate Pro (most B2BKing stores will want it)
The free plugin ships with a single customer group, and much of what makes B2BKing worth migrating — companies, credit, quotes, tax exemptions, catalogue visibility — is Pro-domain. Run the import with Pro active so all of it comes across in one pass. The dry run tells you what it found either way, so you can decide before paying.
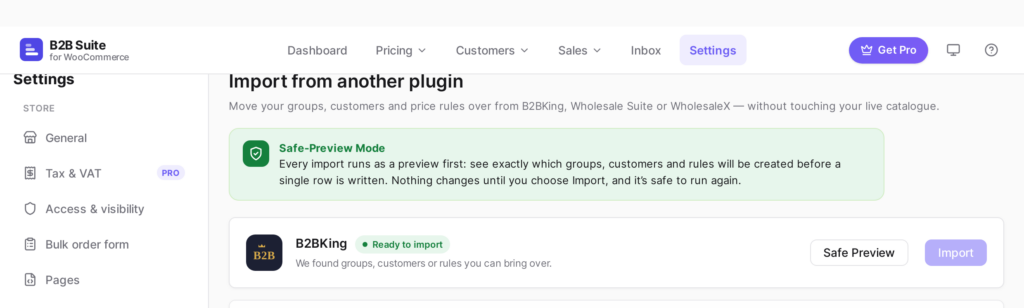
Step 3: Open Settings → Import and choose B2BKing
Go to B2B Suite → Settings → Import. The importer detects B2BKing’s stored data automatically. Choose it as the source.
Step 4: Run the dry run
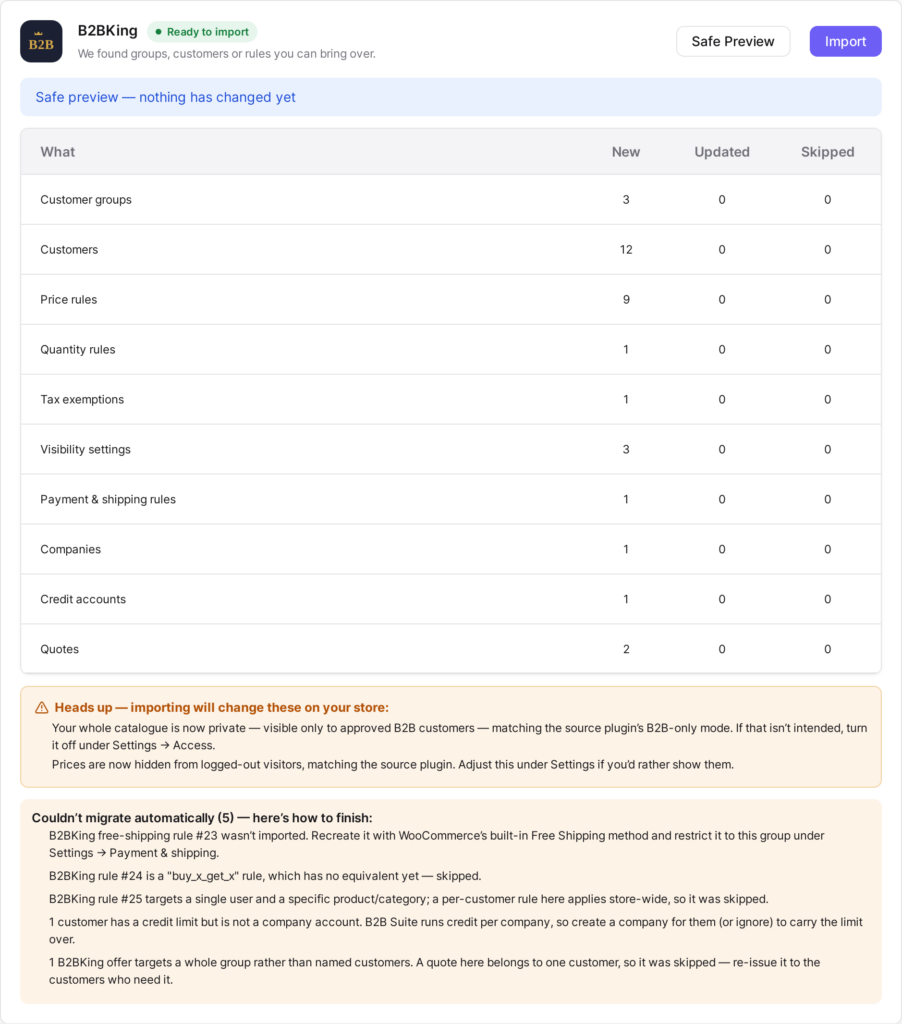
This writes nothing. You get a full report: the groups, customers, rules, companies, credit accounts and quotes it will create, plus a warning for every record it can’t map cleanly.
Step 5: Read the report — the heads-up and the warnings
Skim the counts to confirm they match your store. Then read the heads-up notices (like a private catalogue) and the couldn’t-migrate list — that’s your short manual to-do list.
Step 6: Commit
Happy with the preview? Confirm, and the same import runs for real. Because it records a source-to-created map, you can safely re-run it later to pick up anything that changed on B2BKing in the meantime.
Step 7: Switch the storefront over
Once your prices check out (next section), deactivate B2BKing so only one plugin is resolving prices. Keep it installed-but-off for a while — that’s still your instant rollback.
Check your prices before you switch
Three checks, about five minutes, and you’ll know the migration is right before a real buyer does.
- Check a price. In Pricing → Check a price, enter a product whose trade price you already know and a customer from an imported group. The tool shows the full precedence trail — which rule won and why — so you can watch the imported rule do its job.
- View as customer. Use view-as-customer on a real imported buyer and walk the shop, cart and checkout. Confirm all three agree on the number. (B2B Suite resolves prices through one pipeline covering both the classic checkout and Cart & Checkout Blocks, so a correct price is correct everywhere.)
- Clear the warnings. Work down the dry-run warning list and recreate the handful of items that needed a manual step.
Rolling back
Because nothing was ever written back to B2BKing, rollback is simple: deactivate B2B Suite, reactivate B2BKing. Your old store is exactly as you left it — which is why it’s safe to run the import, even the real committed one, on a live store.
FAQ
Does B2BKing have to stay active during the import?
No. The importer reads B2BKing’s data from WordPress storage directly, so it works whether the plugin is active or not. Most people leave it on until they’ve verified prices, then switch it off.
Will importing change or delete anything in B2BKing?
Never. The importer is read-only towards B2BKing — it only writes into B2B Suite’s own tables. That’s exactly why deactivating B2B Suite restores your previous setup.
Does it really bring across companies and credit?
Yes. Company accounts and their sub-users come across, and each company’s credit limit and current balance become a B2B Suite credit account with an opening ledger entry. (A user with credit but no company is flagged, since B2B Suite’s credit is per-company.) These are Pro features, so run the import with Pro active to bring them over.
Do I need Pro to migrate?
You can migrate and verify basic pricing on the free plugin. But B2BKing stores usually have several groups and lean on Pro-domain features (companies, credit, quotes, tax, visibility), so most will want Pro active during the import. Even then, everything imports on the free plugin and simply activates when you upgrade.
My whole B2BKing catalogue is hidden from the public. What happens?
The importer carries that across and makes your B2B Suite catalogue private too, and it warns you before committing. You can reopen the catalogue afterwards under Settings → Access & visibility.
Can I import, keep selling, and re-import later?
Yes — that’s the recommended way to switch a busy store. The importer maps each source record to what it created, so a second run updates instead of duplicating. Import early, keep taking orders on B2BKing, then re-import right before you flip the storefront over.
Conclusion
B2BKing holds a lot — groups, rules, product prices, companies, credit, offers — and the reason migrations feel scary is the fear of leaving some of it behind. The B2B Suite importer is built precisely so you don’t: it reads all of it, shows you exactly what will land in a preview you approve, names the few things it can’t map, and never touches B2BKing so the door back stays open.
Get B2B Suite free on WordPress.org and run the dry run on your own store today. Need help? The docs cover every setting, and support is here if you get stuck.